


How-To Guides / Admin
Create a Global Permission Policy
Permission policies define what actions agents can take across your organization. Set once at the org level and apply everywhere — with the option to override per configuration.
Overview
How permission levels work
For every action an integration can perform, you set one of three permission levels. The policy applies to every agent using that configuration unless a stricter override is in place.
The agent performs the action immediately without interrupting the user. Best for low-risk, read-only, or high-frequency actions.
Examples: Search code, read Slack messages, look up tickets
The agent pauses and sends a notification to designated approvers. The workflow resumes after a human signs off.
Examples: Create a PR, send a Slack message, close a ticket
The agent is not allowed to take this action at all, regardless of context. Use this for destructive or out-of-scope operations.
Examples: Delete a repository, remove users, purge data
How To
Creating a permission policy
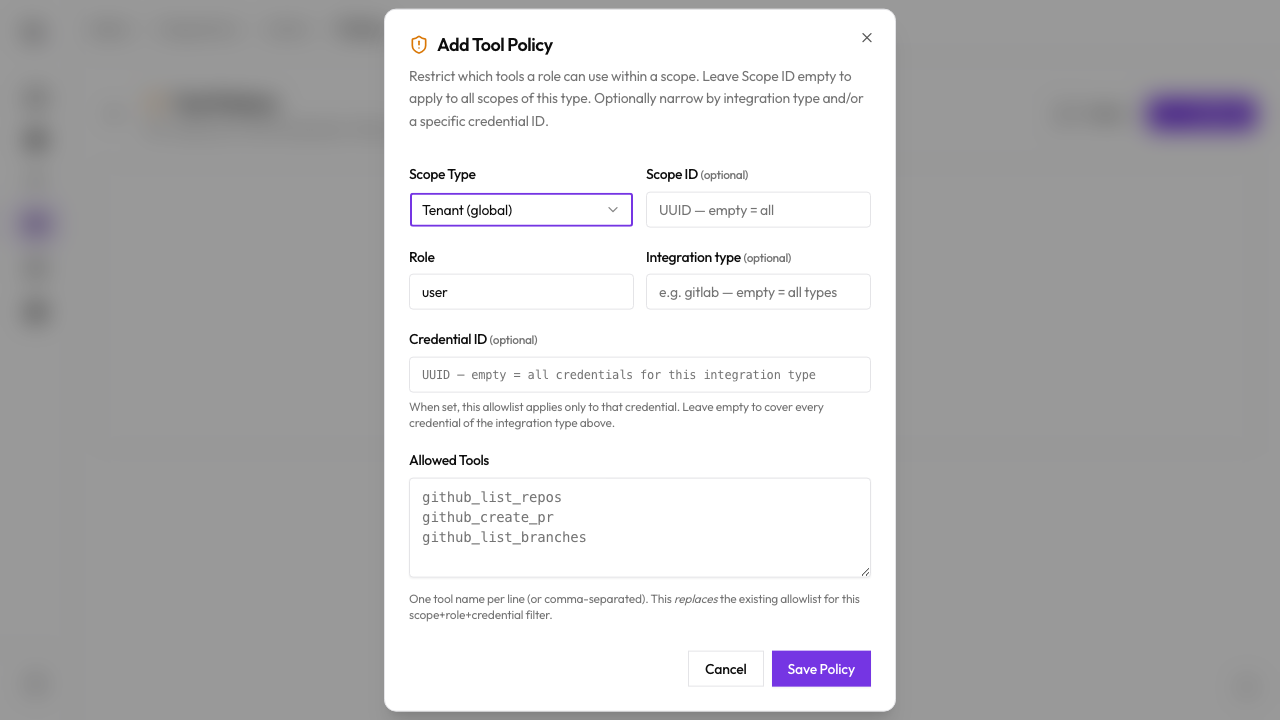
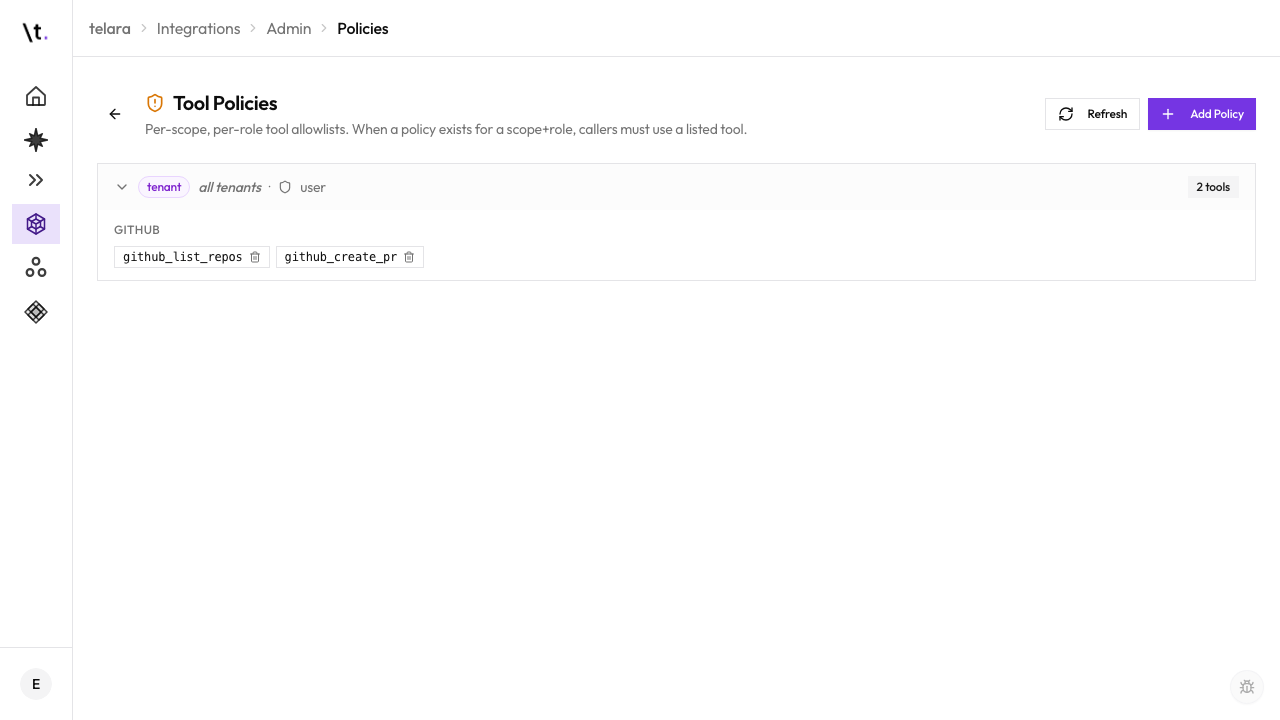
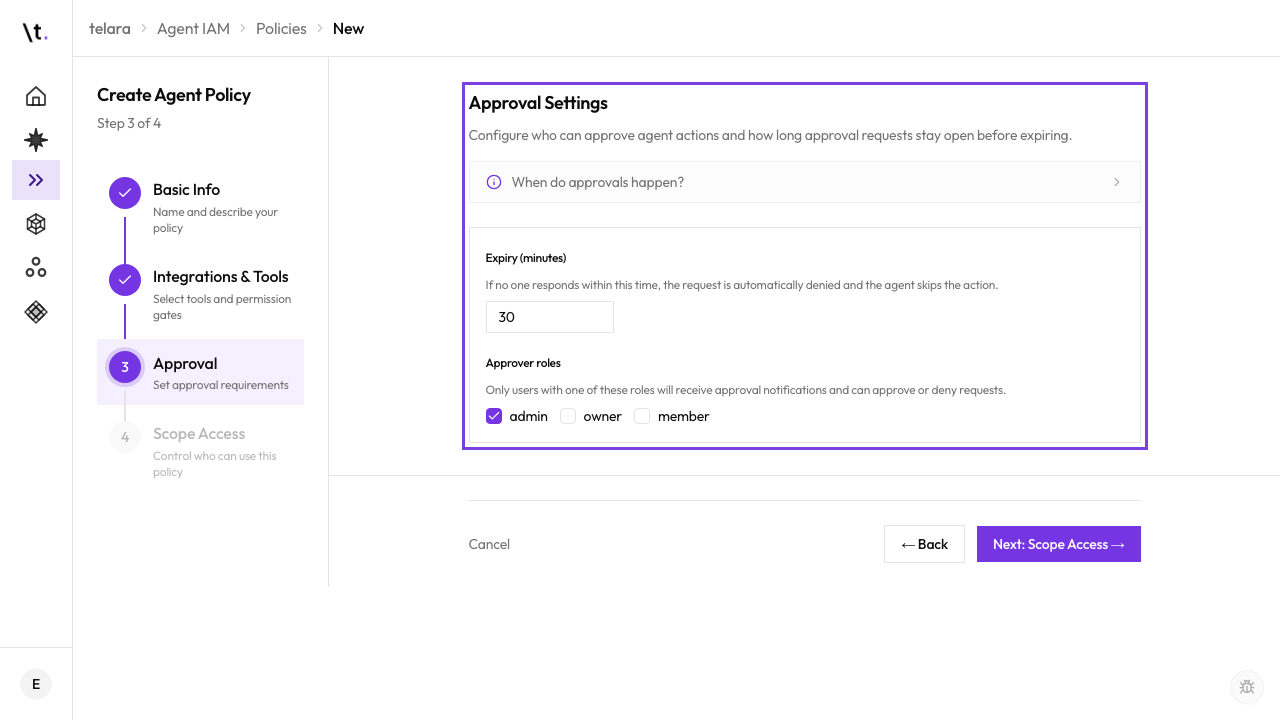
The global org-level policy is always the floor. A configuration can attach a custom policy, but that policy cannot be more permissive than the org default — it can only be equal to or stricter. If no custom policy is attached, the org default applies automatically.
Templates
Common policy templates
These starter configurations cover the most common needs. You can use them as a starting point and customize individual action permissions from there.
All write and destructive actions are blocked. Search, read, and list actions are auto-approved. Good for external contractors or read-only analyst access.
Developer tool read actions (search, browse, fetch) are auto-approved. Write actions (create PR, open issue, merge) require approval. Destructive actions are blocked.
Low-risk actions are auto-approved. Only explicitly destructive actions (delete, remove, purge) are blocked. Suitable for senior engineers or trusted automated pipelines.