
Telara

How-To Guides / Admin

Review & Approve Requests

Two types of requests require your review: actions an agent wants to take that need human sign-off, and access requests from users who need a new integration or configuration.

Admin
Approvals

Overview

Two types of approval requests

Action approvals

An agent wants to take a specific action — create a PR, send a Slack message, merge code — that your permission policy requires a human to approve before proceeding.

Provisioning requests

A user has requested access to an integration or configuration that they don't currently have. You review the request and grant or deny access.

Action Approvals

Approving agent action requests
1
Open Approvals from the top bar
Click the Approvalsshield in the Telara top bar (badge shows when items are waiting). The default view shows all pending action requests sorted by time received. The agent's workflow is paused until you respond.
Approvals dashboard showing a list of pending action requests with columns for agent, action type, resource, and time waiting
2
Click a request to see the full detail
Open any pending request to see the context: what the agent was working on, which specific action it needs to take, which resource is affected, and the full conversation context that led to this point.
Action approval detail card showing agent context, the specific action being requested, the target resource (e.g., 'Create PR in repo/frontend'), and the task description
3
Approve, deny, or request clarification
You have three options:
Approve

The agent proceeds immediately with the action and resumes its workflow.

Deny

The agent is notified that the action was denied. You can include a reason. The agent stops the current step.

Comment

Add a comment without approving or denying — useful for asking the requester for more context before deciding.
Approve and Deny buttons with an optional comment field below, and a dismiss button for non-actionable items
4
After you approve, the agent resumes automatically
No further action is needed. The agent picks up exactly where it paused and completes the action. You'll see the request move from Pending to Resolved in the approvals list.
Approval timeout

If you don't respond within the timeout window configured in the permission policy (e.g., 24 hours), the request auto-expires and the agent is notified that the approval timed out. The timeout duration is set per action when you create or edit a policy — go to Capabilities → Policies to adjust it.

Provisioning Requests

Reviewing access requests from users
1
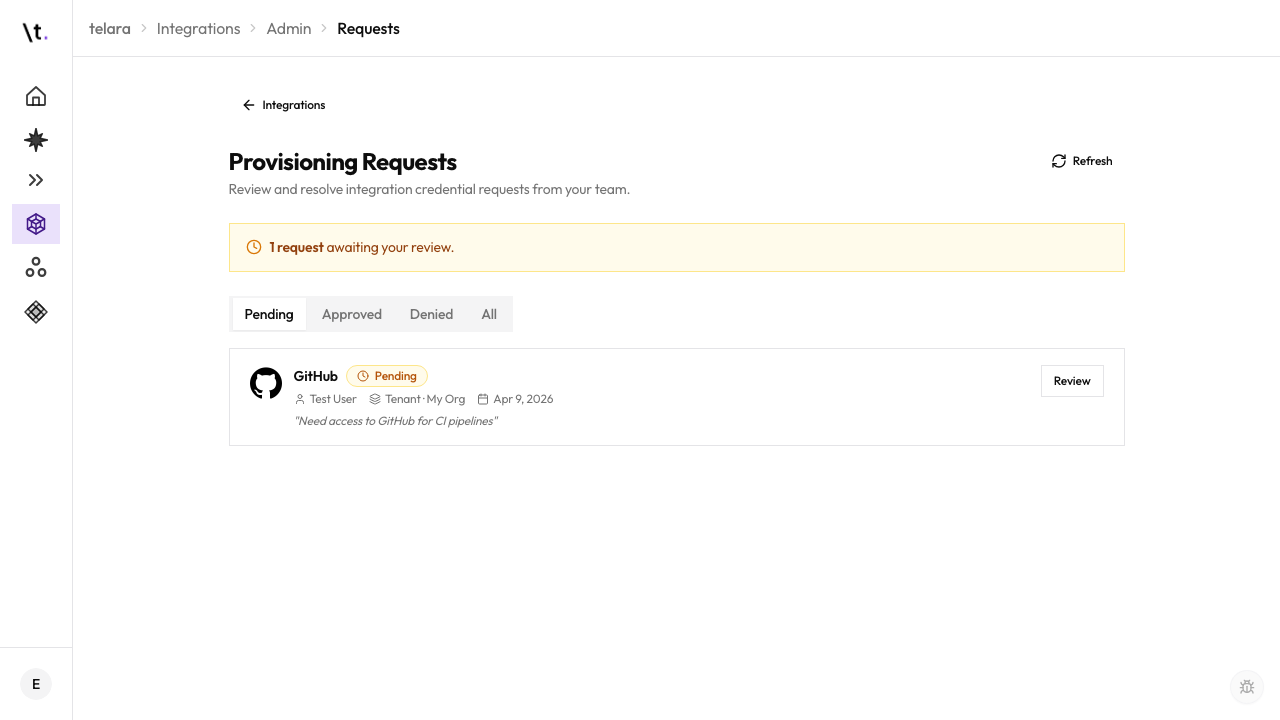
Navigate to Approvals → Provisioning Requests tab
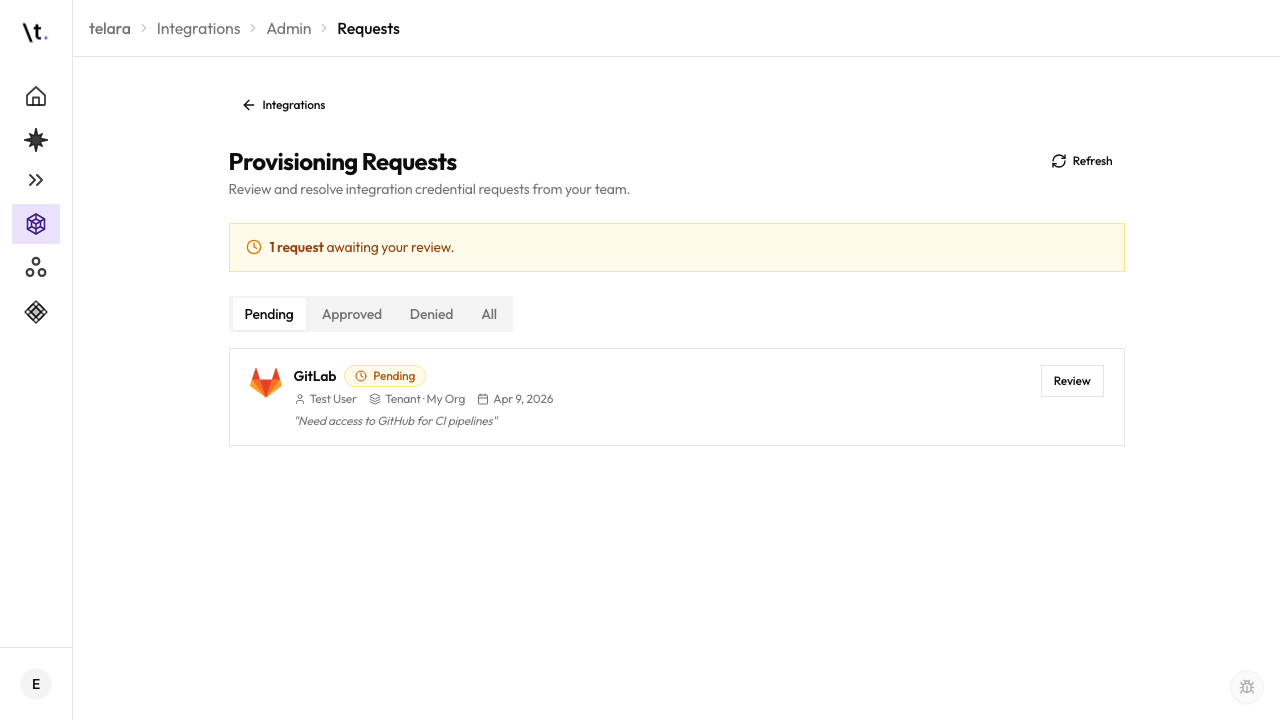
In the Approvals section, click the Provisioning Requeststab. You'll see a list of users who have requested integration or configuration access.
Provisioning Requests tab showing a table of user requests with columns for user, integration or configuration requested, scope, justification, and submission date
2
Review the request details
Click any request to see the full context: which user submitted it, which integration or configuration they're requesting, the scope they asked for (org/team/user), and the justification they provided when submitting the request.
3
Approve or deny
Click Approve to grant access — the credential or configuration becomes available to the user immediately. Click Deny to reject the request, optionally with a reason that will be sent back to the user.
Provisioning request detail showing user info, requested integration, scope, justification, and approve/deny buttons with an optional reason field for denials
Configure approval notifications

By default, pending approvals appear in the Telara dashboard. You can also configure email or Slack notifications so you're alerted immediately when a request comes in.

Go to Settings → Notifications