


A2A Protocol / Setup Guide
A2A Setup Guide
Connect an external AI agent to Telara using the A2A protocol — delegate tasks, retrieve knowledge, and trigger actions from any compatible agent framework.
Overview
What is A2A?
Agent-to-Agent (A2A) is an open protocol that lets AI agents from different systems delegate tasks to each other. When your agent — running in LangChain, AutoGen, or any compatible framework — needs to do something that requires Telara's knowledge or connections, it can send a task to a Telara agent and receive a result, all programmatically.
Your agent asks a Telara agent to search the knowledge base and return relevant context — code, tickets, docs, messages.
Your agent delegates an action — create a Jira ticket, post to Slack — to Telara, which handles permissions and any required approval steps.
A Telara Automation agent delegates sub-tasks to specialized agents, composing complex workflows across systems.
Before You Begin
Prerequisites
Before using A2A, make sure you have the following in place.
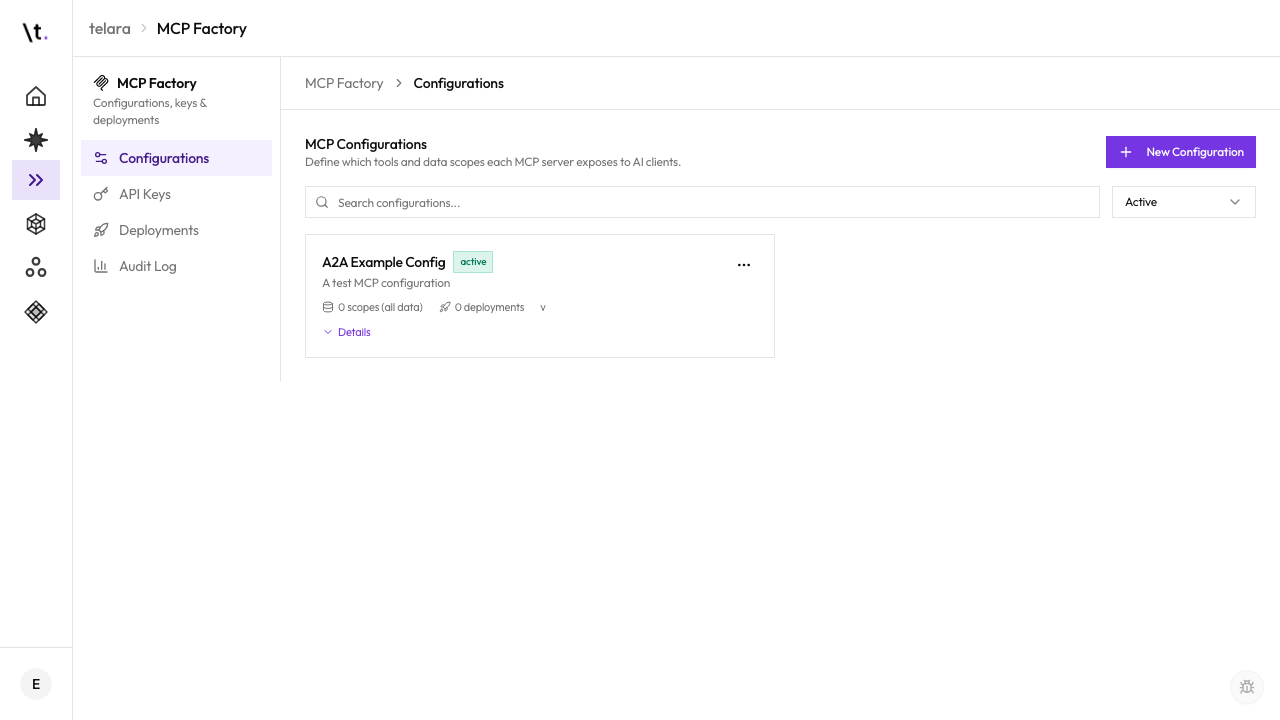
You (or your admin) must have a Telara configuration created — this determines what data and tools the A2A agent has access to.
You need an API key for that configuration.
Your agent framework must support the A2A protocol (Google A2A compatible).
Endpoint
Your A2A Endpoint
Each Telara configuration has a unique A2A endpoint URL. Here's how to find it.
https://a2a.telara.dev/agents/[config-id]Discovery
Agent Card
Every Telara A2A agent exposes an Agent Card — a JSON document describing its capabilities. Fetch it to understand what the agent can do before sending tasks.
Skills listed in the Agent Card are automatically derived from the connections and permission policies attached to your configuration.
Task API
Sending a Task
A2A uses a standard Task API. Send a task to the agent with a natural language message.
Async & Streaming
Async Tasks and Streaming
For long-running tasks, use the streaming endpoint or poll for status. Telara supports both patterns.
Approval Flows
Approval Flows in A2A
If the task requires an action that has an approval step configured in the permission policy, the task pauses at state input-required. Your calling agent receives the pause event and can either wait for a human to approve in the Telara dashboard, or cancel the task.
Once a human approves the action in the Telara dashboard, the task transitions back to working and continues. Your agent receives the update through the stream or on the next poll.
Authentication
Authentication
Send your API key as a Bearer token in the Authorization header on every request. The key must belong to a configuration that has the necessary connections and permissions for the task.
The same permission policies apply to A2A as to other connection types. There is no elevated access via A2A — agents can only do what the configuration's policies allow.
Permission policies, approval steps, and audit logging apply equally to A2A, MCP, and CLI connections. An agent cannot bypass an approval step by using A2A.