

Telara

Platform / MCP Configuration / How-To

Configuration Setup Walkthrough

A step-by-step guide to creating, configuring, and deploying your first configuration.

Configurations
Step-by-Step
Setup

Introduction

Configurations are the foundation of Telara

A configuration bundles your connected integrations, search tools, and permission policies into a shareable endpoint your AI tools connect to. Every time Claude Code, Cursor, or another agent tool accesses Telara, it does so through a configuration. This walkthrough takes you from zero to a working configuration, step by step.

Part 1
Create

Name and create your configuration

Part 2
Attach connections

Add integrations and data filters

Part 3
Set permissions

Attach a permission policy

Part 4
Deploy

Generate a key and connect your tools

Before You Begin

Prerequisites

Your admin must have connected at least one integration to your organization — Telara can only surface data from platforms that are already connected.

You have a Telara account with permission to create configurations (admin or configuration manager role).

Part 1

Create the Configuration

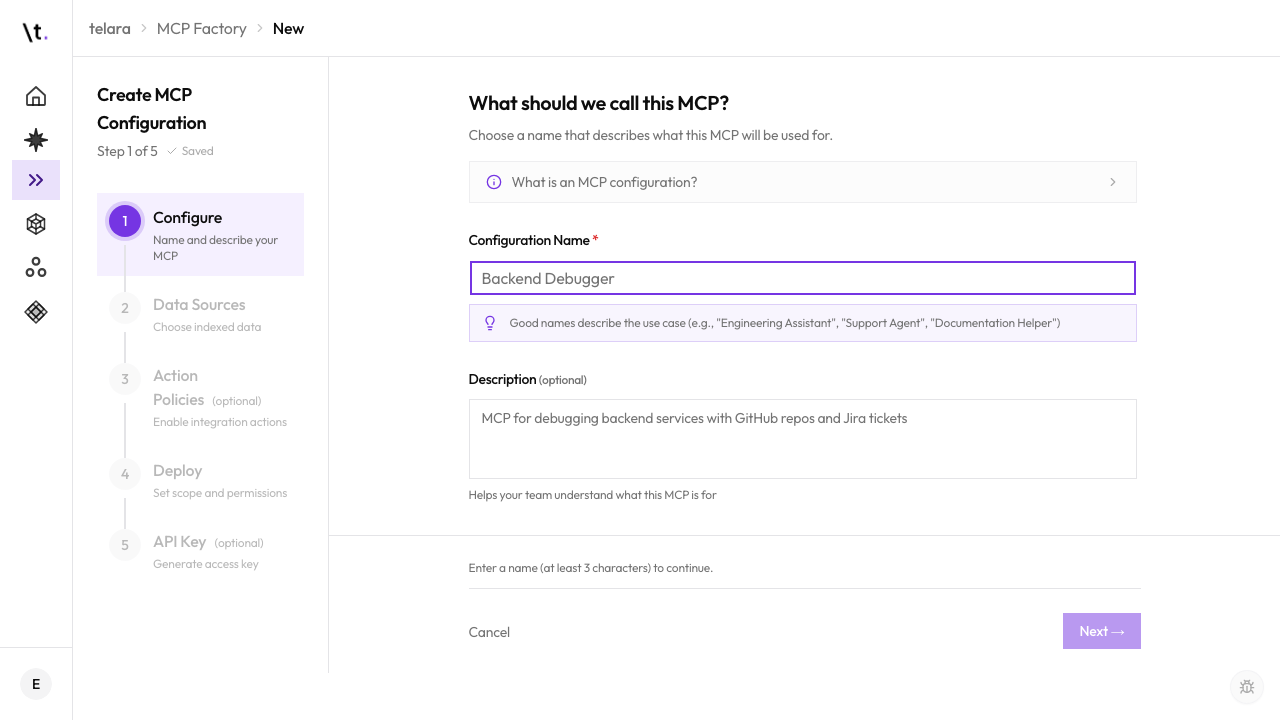
Start by giving your configuration a name and description. These are shown to users when they connect their tools.
1
Open Capabilities → Configurations
In the Telara dashboard, open Agents → Capabilities in the left sidebar. Configurations is the tab it opens on.
2
Click New Configuration
Click the New Configuration button in the top-right corner.
3
Enter a name and description
Give it a clear, recognisable name — for example, "Engineering Full Access" or "Frontend Read-Only". The description is shown to anyone connecting their tools.
4
Choose a scope
Select who can use this configuration: Organization (everyone), a specific Team, a Project, or a User. You can change this later.
5
Save
Click Save. Your configuration is created and you can now add connections to it.
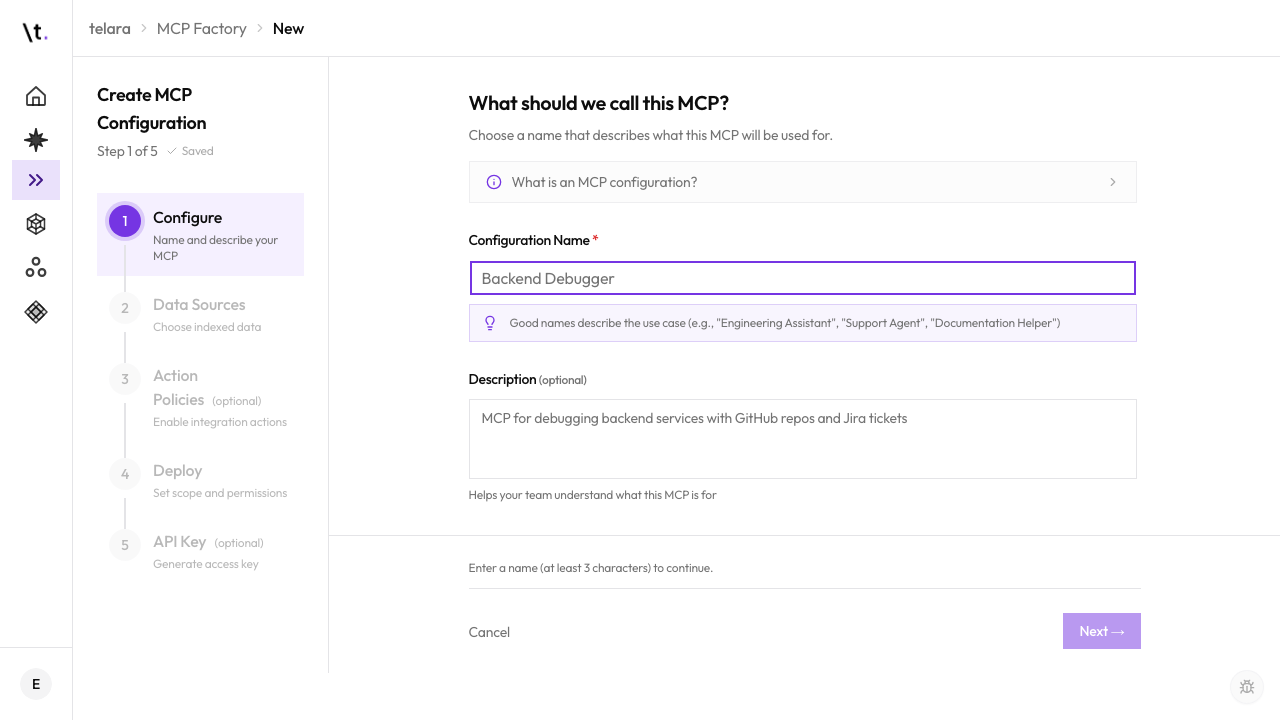
New configuration form showing name, description, and scope selector
Part 2

Attach Integrations and Set Data Filters

Add the integrations your agents should be able to access, and optionally narrow the scope to specific repos, projects, or channels.
1
Open the Connections tab
Inside your new configuration, click the Connections tab.
2
Add an integration
Click Add Connectionand select from your organization's connected integrations. You can add multiple integrations — GitHub, Jira, Slack, and others.
3
Set data filters (optional)
For each integration, you can narrow access. For example, restrict GitHub to specific repositories, Jira to specific projects, or Slack to specific channels. Leave filters empty to grant access to everything the integration can see.
4
Save
Click Save Connections. Agents using this configuration will only see the data you've scoped here.
Connections tab showing GitHub repos, Jira project, and Slack channel filters
Part 3

Attach a Permission Policy

Permission policies govern every action an agent can take. Attach at least one policy to control what agents can do automatically versus what requires human approval.

1
Open the Permissions tab
Click the Permissions tab within your configuration.
2
Attach a policy
Click Attach Policyand select from your organization's available permission policies. If none exist, ask your admin to create one, or see the Permissions & Policies walkthrough to create one yourself.
3
Review the policy settings
Confirm the policy covers the integrations you added — for example, a GitHub policy that allows reading but requires approval for pull request creation.
4
Save
Click Save. The policy is now active for all agents connecting through this configuration.
Configurations without a policy are read-only

If no permission policy is attached, agents can search and read data but cannot take any write actions. Attach a policy to enable actions like creating tickets or posting messages.

Part 4

Generate and Distribute the API Key

API keys are how your agent tools authenticate with Telara. Generate one for each deployment target.
1
Open the API Keys tab
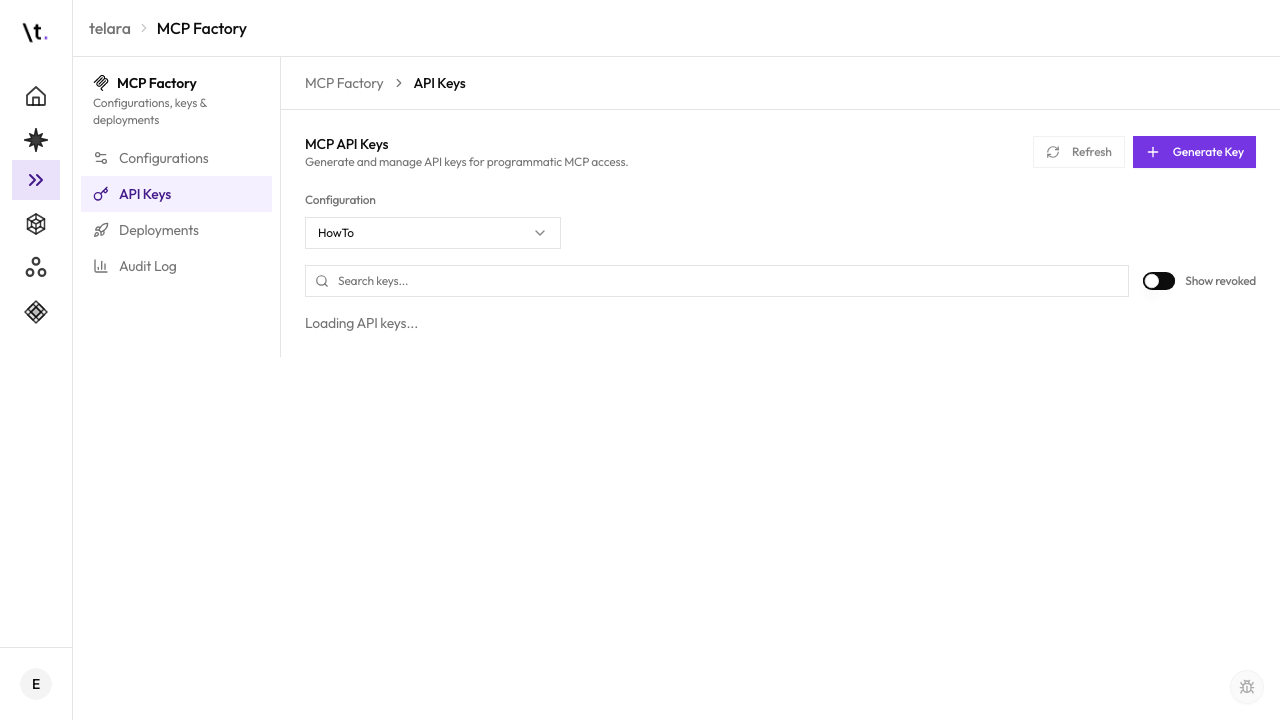
Click the API Keys tab within your configuration.
2
Generate a new key
Click Generate Key. Give it a descriptive label — for example, "Claude Code - Eng Team" or "CI Pipeline".
3
Copy the key immediately
The full key is shown only once. Copy it and store it securely — for example, in your password manager or team secret store. Telara does not display the full key again after you close this dialog.
4
Distribute to your team
Share the key with the team members or systems that need it. For IDE tools, team members can use the Telara CLI to connect automatically — they don't need to handle the raw key themselves.
API Keys tab showing generated key with copy button and key label
Part 5

Connect Your First AI Tool

Use the Telara CLI to connect Claude Code, Cursor, or Windsurf to your new configuration in one command.

1
Install the Telara CLI
If you haven't already, install the CLI — see the Telara CLI guide for installation instructions.
2
Log in
Run telara loginto authenticate. Your tools are automatically connected to your organization's default configuration.
3
Switch to your new configuration
To use the configuration you just created, run: telara config global "Your Config Name"
4
Restart your tools
Restart Claude Code, Cursor, or whichever tool you're using. Telara's knowledge and tools will appear in your agent sidebar automatically.
Team members don't need the raw key

When you deploy a configuration through the Telara dashboard, your admin can push it to all team members automatically. They just run telara login and are connected — no manual key distribution needed.

What's Next

Continue setting up