

Telara

Platform / Permissions & Policies / How-To

Permissions & Policies Walkthrough

Create your first permission policy, configure action gates, and attach it to a configuration.

Permissions & Policies
Action Gates
Approval Flows

Overview

What permission policies do

Every action an agent takes — searching GitHub, posting to Slack, creating a Jira ticket — is governed by a permission policy. Policies let you decide, per action: whether the agent can proceed automatically, whether a human must approve first, or whether the action is blocked entirely.

Auto-approve

Agent proceeds immediately. Best for read operations and low-risk actions.

Require approval

Agent pauses and sends a notification. A human approves or denies from the Telara dashboard.

Blocked

Action is never allowed regardless of who asks or how. Use for irreversible or destructive operations.

Part 1

Create a Policy

Policies are created independently and then attached to one or more configurations. You can reuse the same policy across multiple configurations.
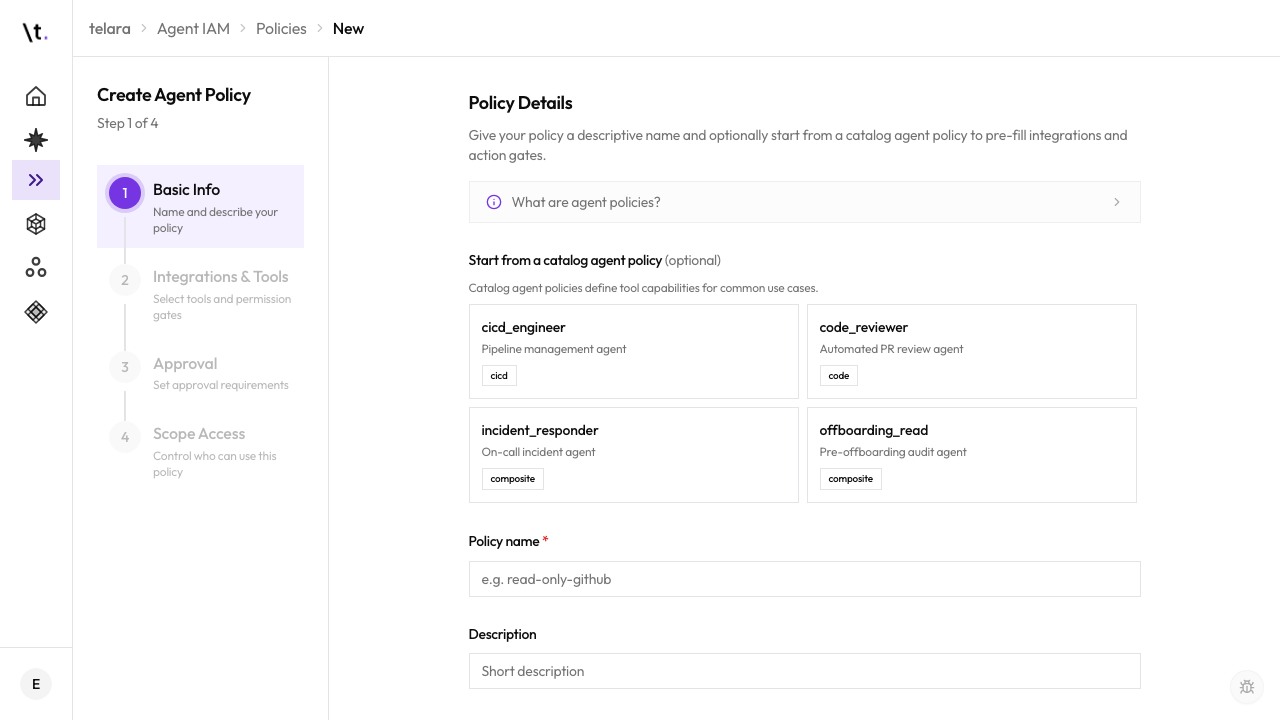
1
Open Capabilities → Policies
In the Telara dashboard, open Agents → Capabilities in the left sidebar, then select the Policies tab.
2
Click New Policy
Click New Policy in the top-right corner.
3
Name the policy
Give the policy a descriptive name that reflects its intent — for example, "GitHub Read-Only", "Jira Read-Write with Approval", or "Engineering Full Access".
4
Choose the scope
Select whether this policy is available organization-wide, to a specific team, or to a specific project. Organization-wide policies are available to all configurations.
5
Save the policy shell
Click Save. The policy is created and you can now add action permissions to it.
New policy form showing name, description, and scope selector
Part 2

Set Action Permissions

Configure how each action is handled. Actions are grouped by integration — GitHub, Jira, Slack, and others.

Inside your new policy, open the Actionstab. For each integration, you'll see a list of available actions. Set each to Auto-approve, Require approval, or Blocked.

Auto-approve examples
  • Search GitHub repositories
  • Read Jira tickets and comments
  • List Slack channels
  • Search Notion pages
  • Read pull request status
Require approval examples
  • Create a GitHub pull request
  • Post a message to Slack
  • Update or close a Jira ticket
  • Create a Notion page
  • Assign a ticket to a team member
Blocked examples
  • Delete a GitHub repository
  • Kick a user from Slack
  • Close or archive a Jira project
  • Delete a Notion workspace
  • Remove a team member
Tip

Start conservative — set most write actions to "Require approval" and loosen permissions as you become confident. You can update the policy at any time and changes take effect immediately across all attached configurations.
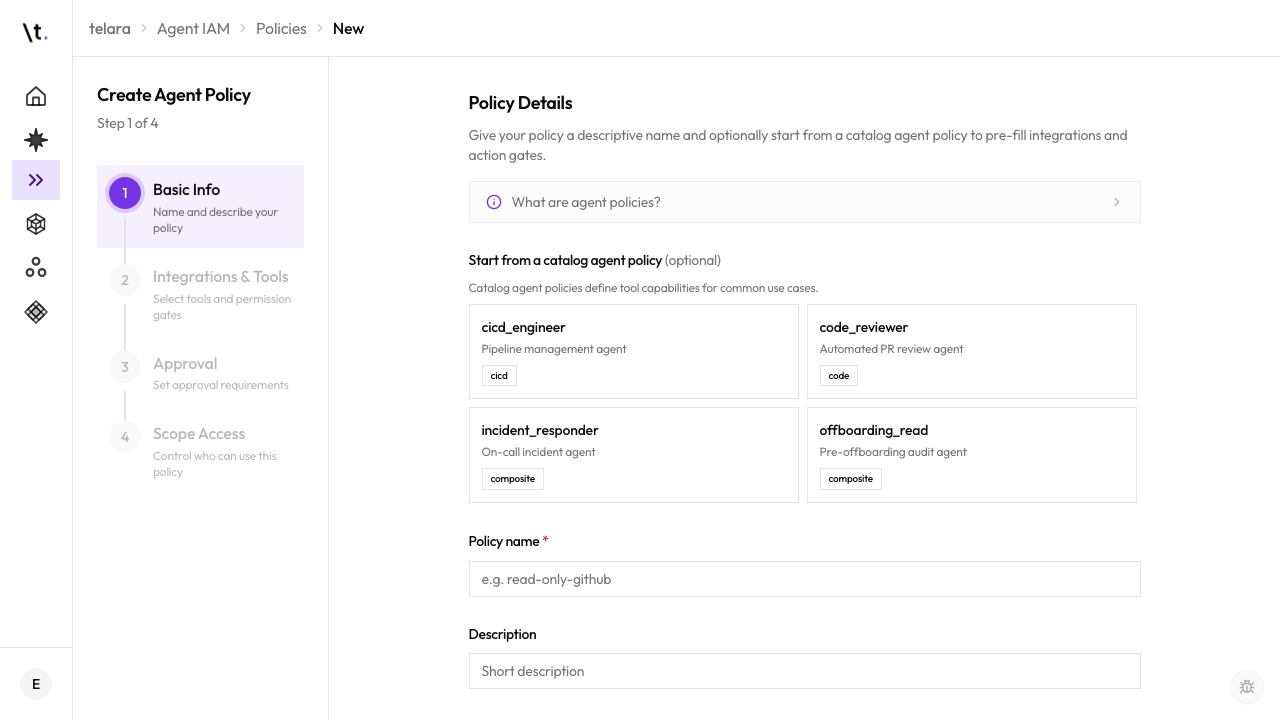
Actions tab showing per-integration action list with permission level selectors
Part 3

Configure Approval Steps

Define who gets notified when an action requires approval, and how long an agent waits before timing out.
1
Open the Approvals tab
Inside your policy, click the Approvals tab.
2
Set the approvers
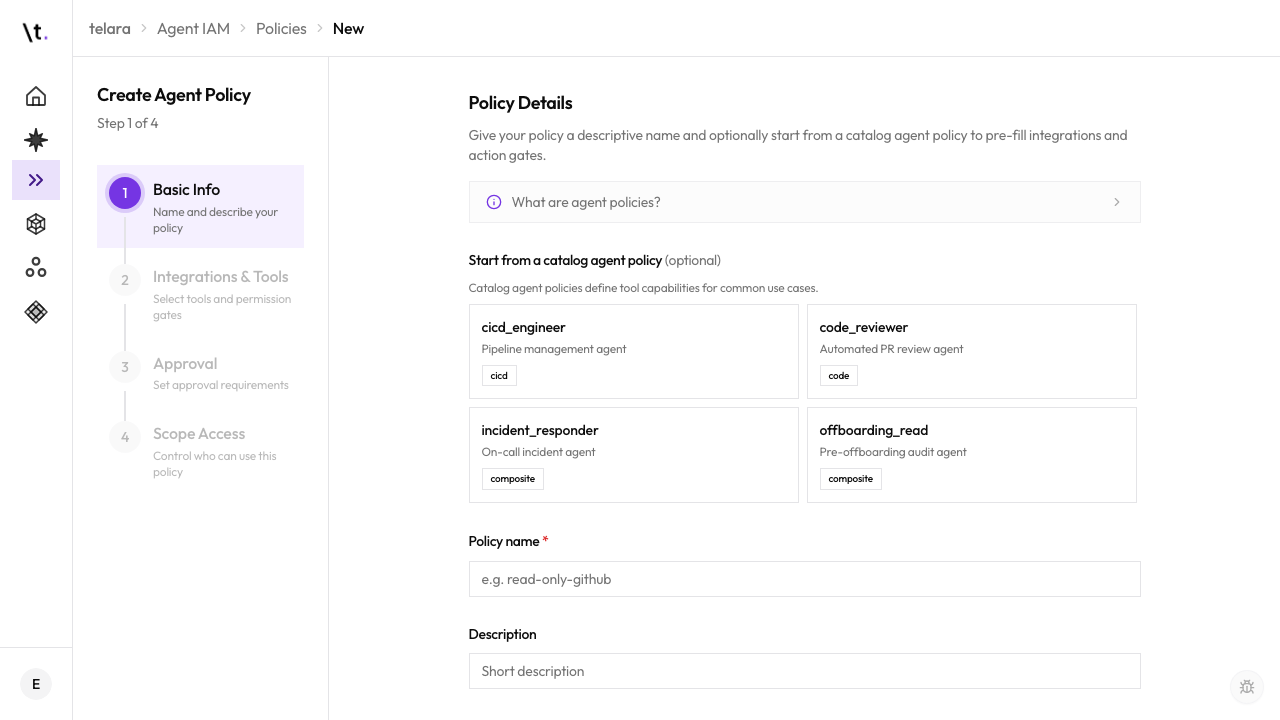
Choose who can approve requests for this policy: an individual user, a Telara team, or any admin. Multiple approvers are supported — the first person to respond counts.
3
Set the timeout
Choose how long an agent waits for approval before the task is automatically cancelled. Typical values are 30 minutes to 4 hours. Tasks that time out are logged in the approval history.
4
Set the notification channel
Choose where approval requests are sent: email, Slack, or in-app notification. If Slack is connected, approvers can approve or deny directly from Slack.
5
Save
Click Save. Approval step configuration is now active for all "Require approval" actions in this policy.
Approvals tab showing approver selector, timeout setting, and notification channel
Part 4

Attach the Policy to a Configuration

A policy does nothing on its own — it must be attached to a configuration to take effect.

1
Navigate to your configuration
Go to Configurations and open the configuration you want to govern with this policy.
2
Open the Permissions tab
Click the Permissions tab within the configuration.
3
Attach the policy
Click Attach Policy and select the policy you just created from the dropdown. You can attach multiple policies — actions from all attached policies are merged.
4
Save
Click Save. The policy is now active. All agents connecting through this configuration will have their actions governed by the policy from this moment forward.
Multiple policies are additive

When multiple policies are attached to a configuration, the most restrictive setting for each action wins. If one policy auto-approves posting to Slack and another requires approval, the agent will request approval.

What's Next

Continue setting up